
The Easiest Anycubic Kobra Plus Assembly Guide
Putting your new Anycubic Kobra Plus 3D printer together has never been easier.
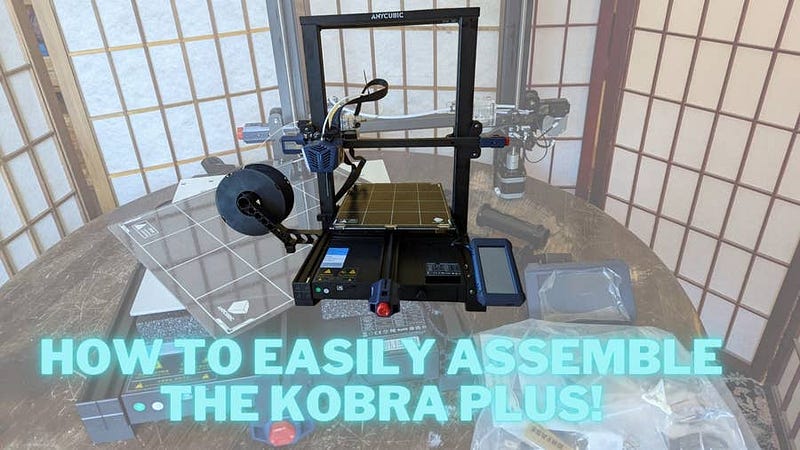
I’m a gigantic fan of the Kobra Plus, so much so that it’s become my daily driver for printing projects. One of the things that sold me on it early on was the ease of assembly. While the printer does come partially disassembled, it’s not too difficult to get all the pieces aligned and fitted in right, especially if you have a handy guide like this one to lead the way!

Unboxing the Kobra Plus

The Kobra Plus is pretty easy to get out of its packaging, due largely to the fact that it’s mostly pre-assembled. The main components need to be fitted together, but this is a pretty easy assembly compared to other budget 3D printers.
Everything in its place
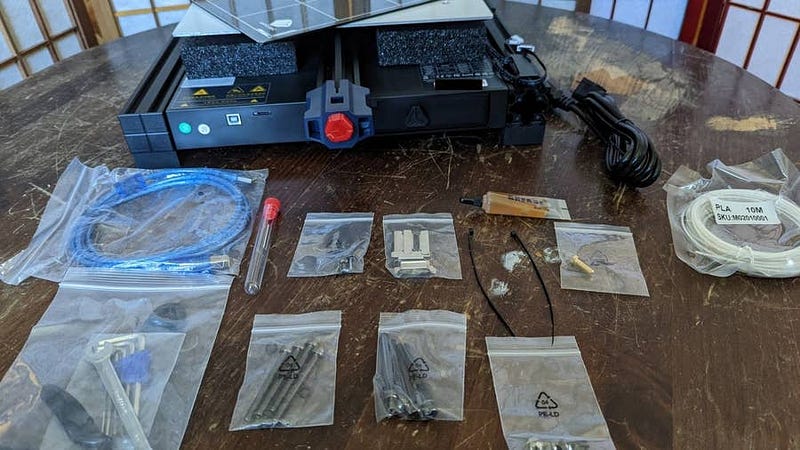
As always, make sure you have everything you need before you get started.
Installing the frame
The frame has notches that it fits into on the sides of the baseplate. Find those and slot the frame into place. The motors will face the rear of the Kobra Plus.
Screwing in the frame
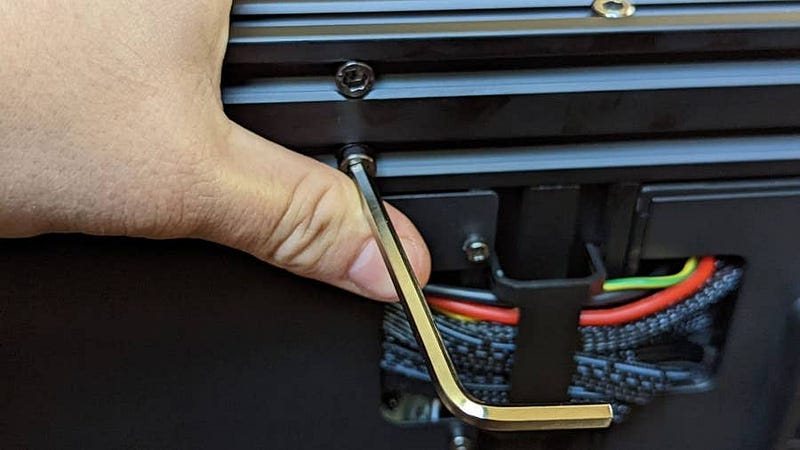
Once you have everything aligned, tilt the frame and baseplate to one side while holding the frame in place. Be careful not to lean the printer on any of its extruded pieces, so you don’t damage it. Having someone to help you at this stage is valuable.
Using one of the included hex wrenches, screw in two of the M5x50 screws, first on one side of the frame, then the other, locking the frame into place.
Screwing in the frame
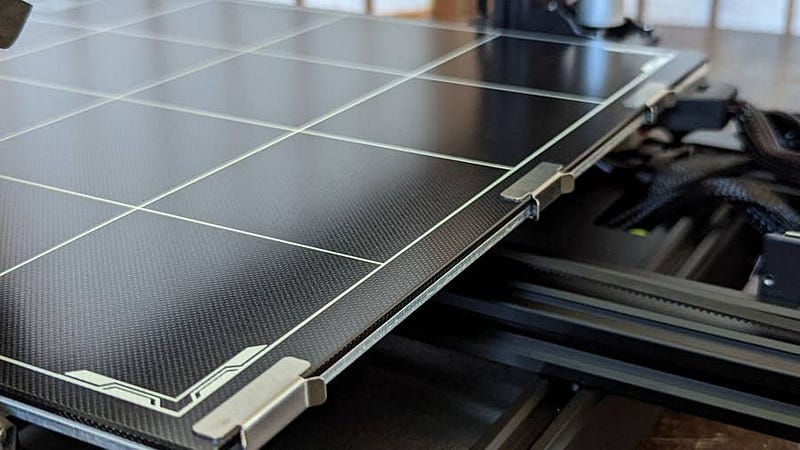
Installing the printing plate is easy. Just grab the included plate clamps, align the printing plate to the metal baseplate, and affix with the clamps. The wide headed side of the clamp goes on the top.
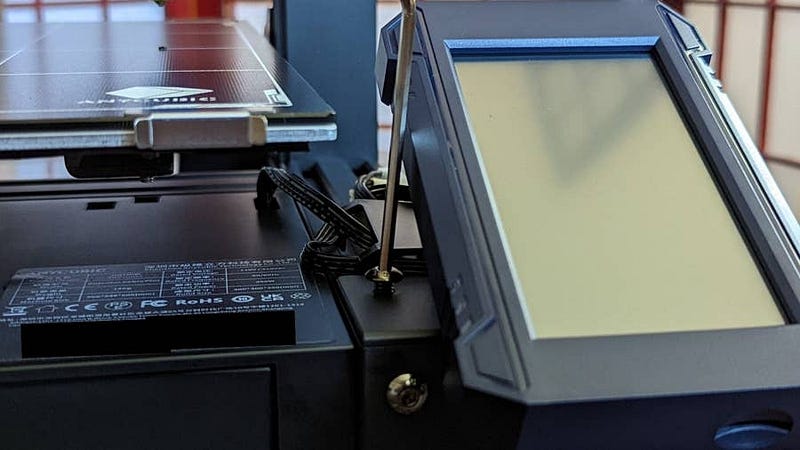
Installing the Kobra Plus screen
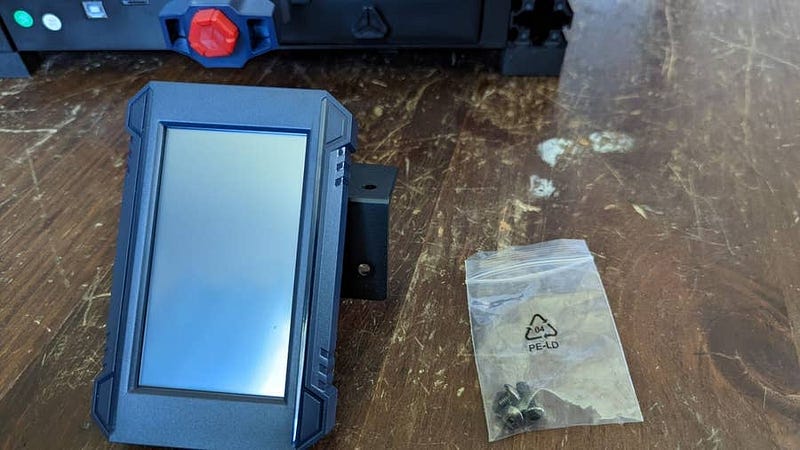
The touchscreen installs on the right-facing side of the Kobra Plus. You’ll need three screws for this, two M5 x 6 and one M5 x 14.
Attach the screen to the Kobra base
Using your hex wrench, attach the touchscreen to the Kobra Plus base. Two short screws in front, one on top of the plate connector.
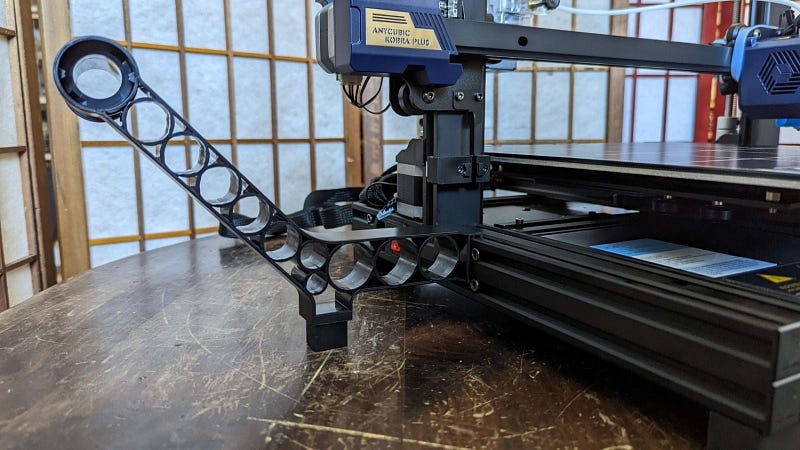
Filament holder
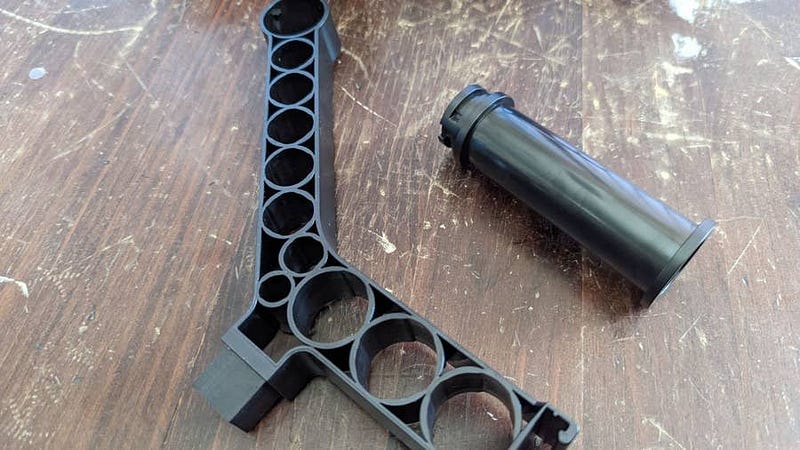
The filament holder goes on the left-facing side of the Kobra Plus.
Clamp the filament holder onto the baseplate of the Kobra Plus
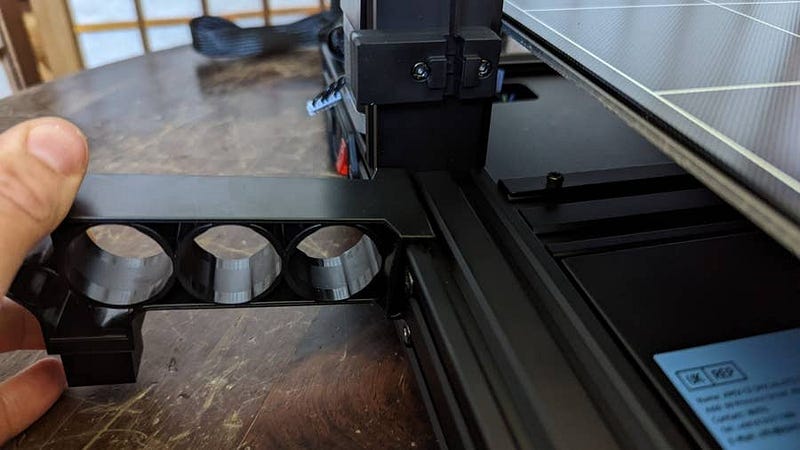
The filament holder slots in easily, just lock its tooth onto the top part of the baseplate groove and apply even pressure down until the bottom clamps in as well. You want this to be as close to the frame as possible.
Clamp the filament holder onto the baseplate of the Kobra Plus
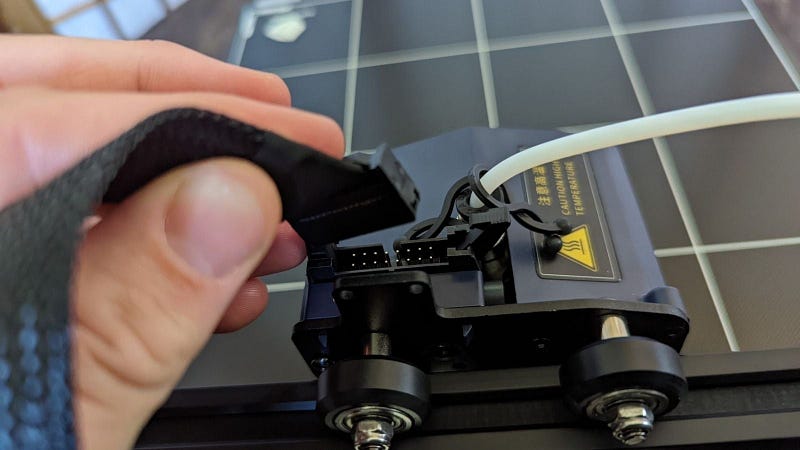
Connect the wiring

Connecting the wiring for the Anycubic Kobra Plus is pretty easy because it’s all been labeled for you. Just make sure that, for the longer cables, you’re putting them in the right spot. The printer head cable absolutely must be smooth (no kinks or curls) and it goes beneath the top profile, not over it (or else it will get caught on the profile when the printer tries to lower).
Remove unwanted packing materials
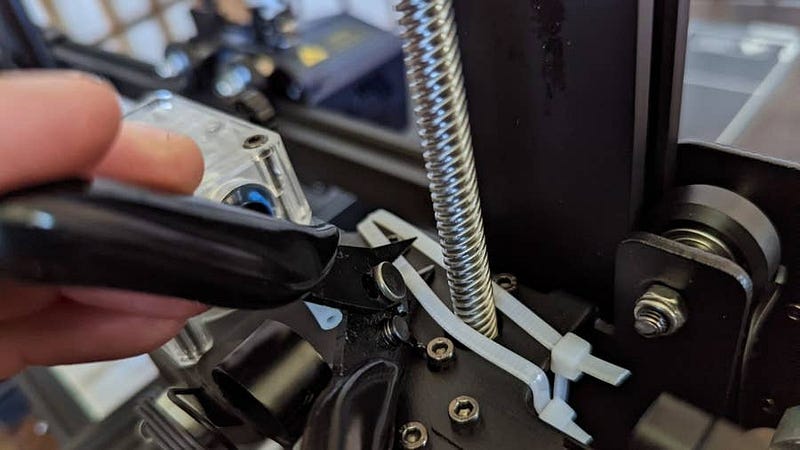
The Kobra Plus comes with zip ties and foam protecting its more sensitive movable components. Make sure to snip the ties and remove the foam before the next step.
Don’t forget about the ties beneath the plate!
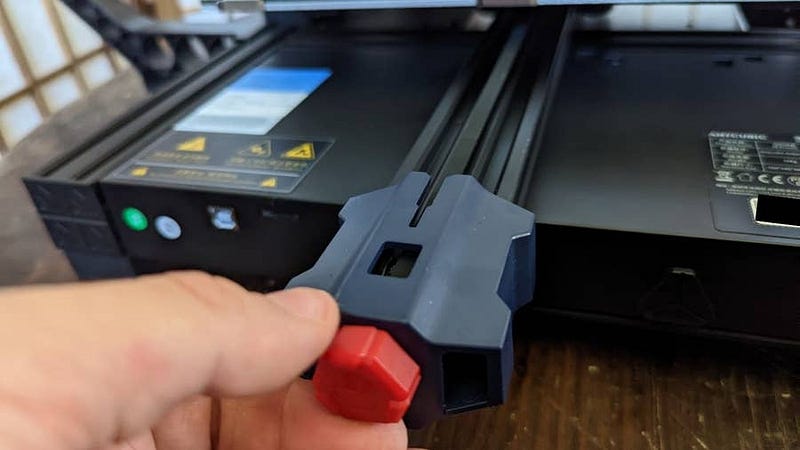
The foam in the print head can be removed once you’ve snipped the ties. Just roll the print head along its track to slide the foam easily out.
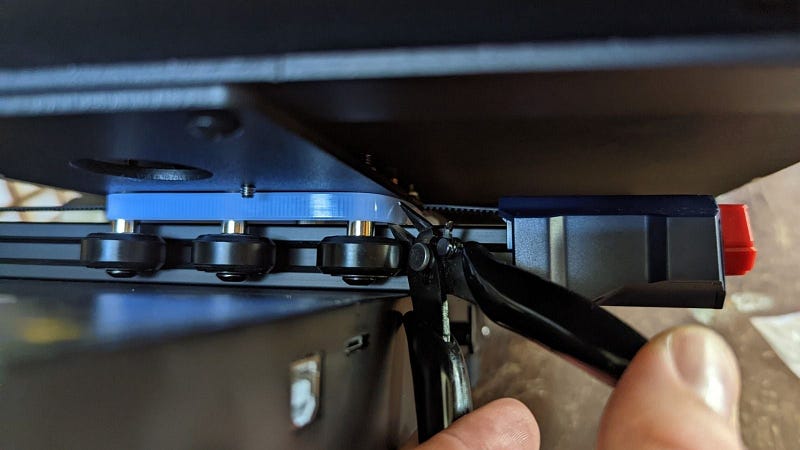
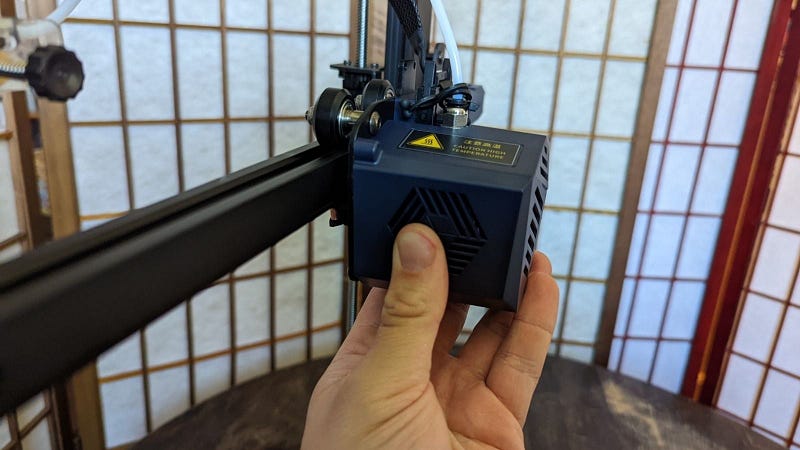
Check the printer head

The print head needs to be checked for any wobble. If you feel one, just tighten using the included wrench.
Check the print base for wobble

In order for your Kobra Plus to print properly, there can’t be any wobble in the base. Tight the nuts beneath the plate with your wrench to ensure that the plate is stable.
Tighten the belts
The belts for your Kobra Plus’s X-axis and Y-axis need to be tightened before use. Don’t over-tighten, but make sure there’s no give in the belt.
Check the voltage
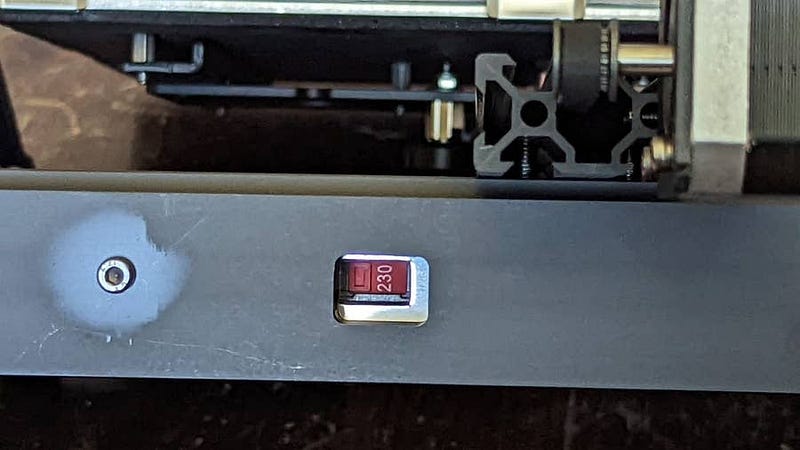
This is an incredibly important step, and not checking could lead to damage to your printer. On the rear of the printer, hidden in a little slot, is the voltage slider. Make sure it’s set to the default for your region (110v for the United States). You can use one of the hex wrenches included to move the slider.
Plug in and turn on!
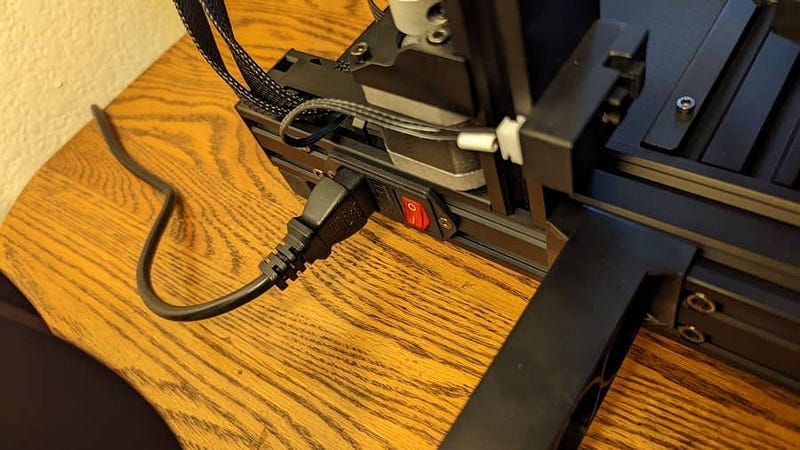
Now we get to move on to the fun part! Plug your Kobra Plus in and turn it on. Make sure that you’ve set your printer on a sturdy surface, as printing quality will be affected by any wobble in the platform. The Kobra Plus is a pretty big printer, too, so you’ll need to give it a fair bit of space in order for it to operate with the filament wheel attached.
Assembly completed!

Once your assembly is complete, you can move on to leveling your new Kobra Plus 3D printer.
